Steamed Buns Attempt #2 – (Partial) SUCCESS!
So after the horrendous results of my last batch of dough (steamed buns part I), I obviously felt the need to try again. And try again I did!
This time, I learned to cut back on experimentation levels and stick to good old self-rising cake flour (and all-purpose flour for my 3rd batch, just to see what would happen). I would have liked to try another batch with regular cake flour (without baking powder and salt added), but…I can’t seem to find it. Next time!
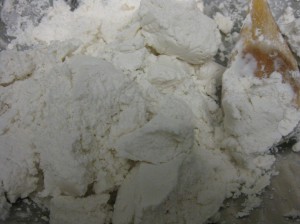
So this time around, I knew the end result would be infinitely better because instead of watching crumbles of dough mixture flop around in the mixer, this time I was able to witness a beautiful and seamless integration of liquid and flour mixture! Exciting stuff!!
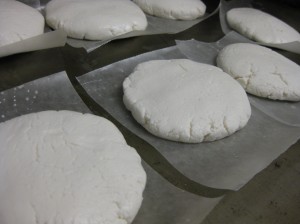
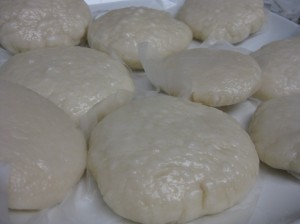
Unfortunately, I may have skipped a few steps in the process of making the buns and didn’t really bother with rolling out the dough and slicing it – I just formed tiny balls of dough in my hand and flattened it out. I also didn’t give the dough much time to rise my second time around, but I did for the third batch and what a difference it makes! I assume this is why my buns weren’t as thin as I ideally would’ve liked them to be or as pretty, but I’ll just have to find out next time!
In the end, the buns were satisfying in taste, texture, and functionality (they made great pork belly buns – post to follow!). Now if only they were thinner and more pretty….!
Ingredients
- 1 1/2 cups warm water (slightly cooled past boiling)
- 3 tbsp sugar
- 1 tsp salt
- 1 1/2 tbsp oil
- 3 tbsp dried milk powder
- 2 tsp instant yeast
- 5 cups all purpose flour
- parchment paper
Dissolve sugar and salt in 1 cup of the warm water. Stir in yeast. Let it sit for 10 minutes to activate – yeast mixture should look foamy. Add milk powder and rest of the warm water. Stir in oil.
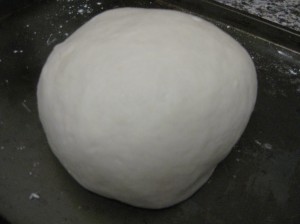
Pour flour in a large mixing bowl. Slowly begin to stir in the liquid yeast mixture to evenly distribute the liquid in the flour. Knead the dough for about 15 minutes. The dough should not stick to your hands and should have a taffy-like appearance when stretched. If the dough is too dry, add a little more warm water; if the dough is too sticky, add a little more flour. Form the dough into a ball and place in an oiled bowl. Cover in plastic wrap and let rise for 2 hours – the dough should grow 2.5-3 times in size.
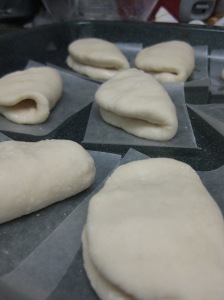
Punch down the dough (literally punch down into the dough, will slightly deflate the dough). Roll out the dough into a log and slice into 1 inch slices (will probably form around 20). Take each slice and roll out into oval shapes. Lightly spread oil on one side of the oval and using a chopstick, fold the oval dough in half. Place the bun on top of a square of wax paper. Continue until all buns are finished. Let buns sit and rise for another 30 minutes.
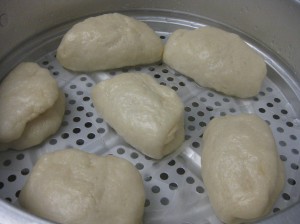
Arrange the buns in a steamer, leaving about 2 inches of space between each one. Cover and steam over boiling water for 15 minutes. Remove from steamer after fully cooked and wrap in a moist towel if not being eaten immediately.
Serve with pork belly or anything else you can think of (recipes to be posted soon!)

